Let's pretend we're building a module that displays music albums in an artist's website, and we want to document how selecting an album works.
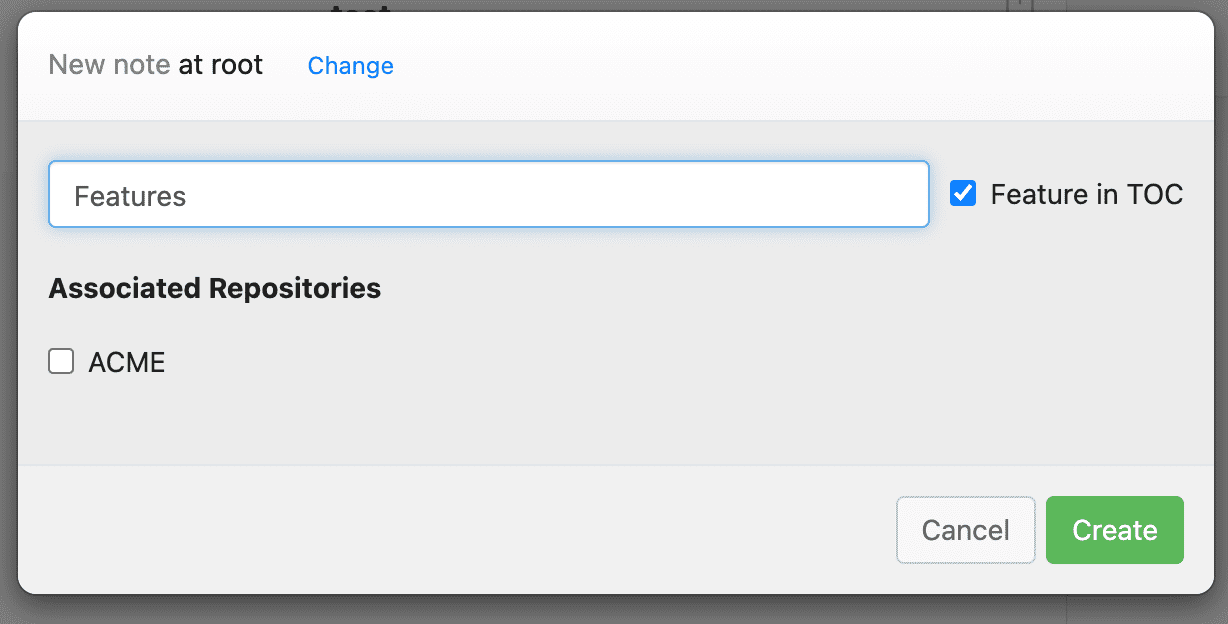
Use Command-N to create a note.

The note can be associated to any of your repositories. To be more precise, it is associated to the commit the head of the working copy is pointing to.
What it means is: the notes which are shown to you depend on what branch you're currently pointing to, and if no repository is associated to the note, it will always be visible.
But don't worry, you can change your mind later.
Let's leave the check box unchecked for now and create a Note called "Features".
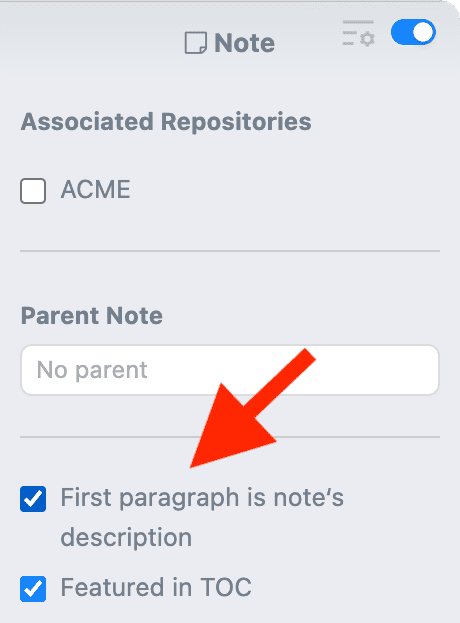
Fill in some text in the first paragraph. By default, the first paragraph of the note is supposed to describe what the note is about.
This is a note setting that you can toggle in the inspector.

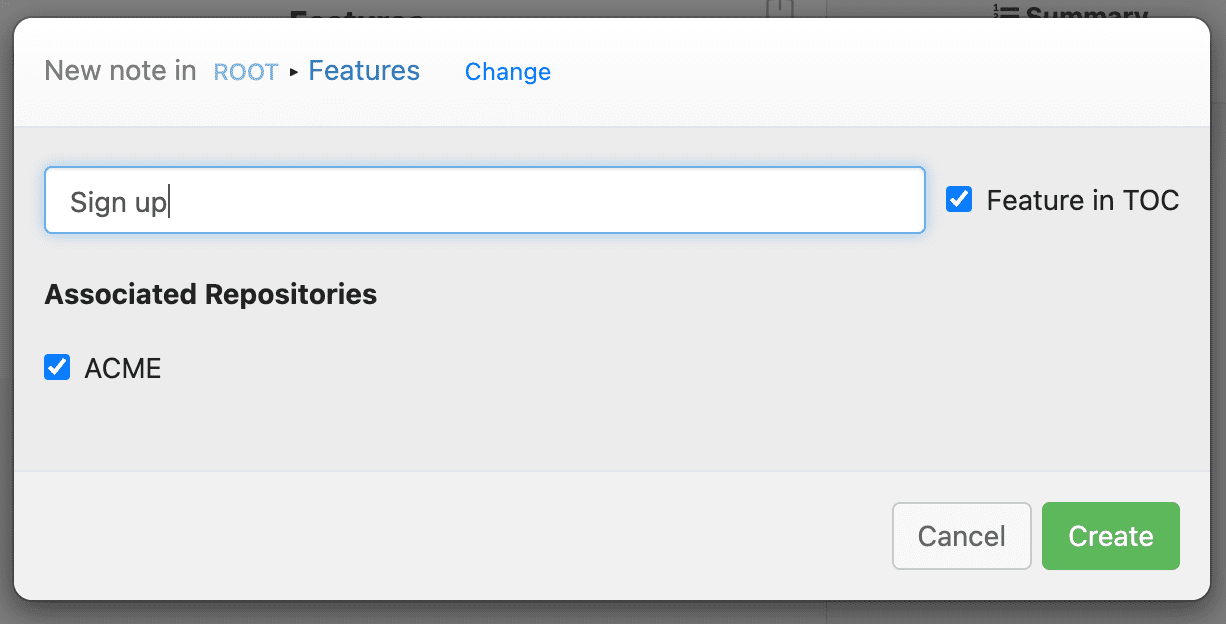
Hit Command-N again.
By default, the note will be created as a child of the current note.
Let's call it "Album selection" and, this time, associate the repository by clicking the checkbox.

Briefly describe the note, then we'll add a screenshot.